CRF250L DIY Fender Eliminator
The stock rear fender on the CRF250L is a giant conglomeration of excess parts.. I’m sure its the way it is to meet legal/safety requirements of multiple countries but in my experience all it does is create more a spot for mud to collect! After many hours of debating ordering the actual crf250l fender eliminator i decided to just make my own.. not only was it an easy mod.. it didn’t cost me a cent!
So what do you need to tidy up the end of your CRF250l?
-Dremmel with cut off wheel,
– Socket set
– Hot glue or Silicone
– Chunk of clear plastic or lexan
Step 1. Start with one stock Honda CRF fender

Step 2. Remove the 4 bolts holding on the CRF rear fender cover
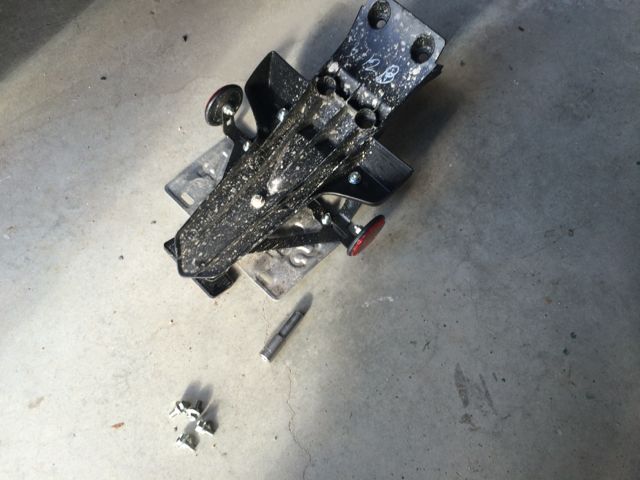
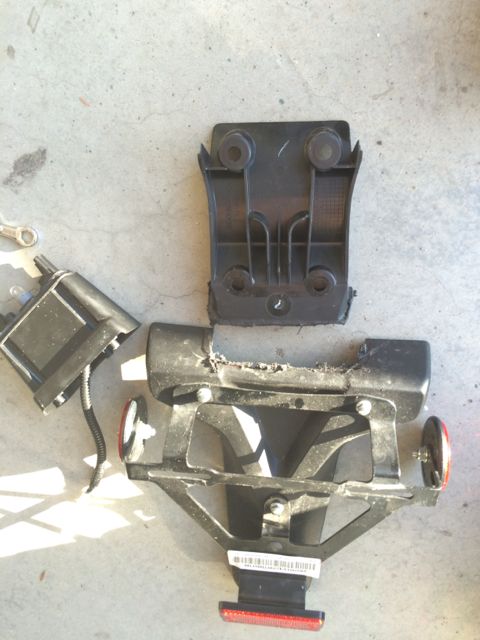
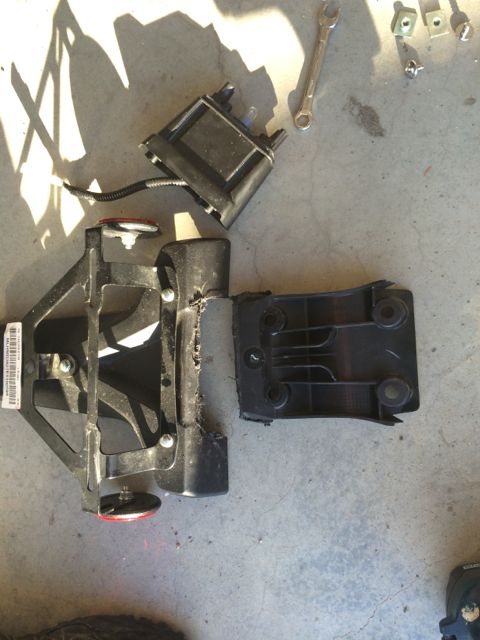
The big fender removed (yes you are right, its big and heavy…well relatively!)
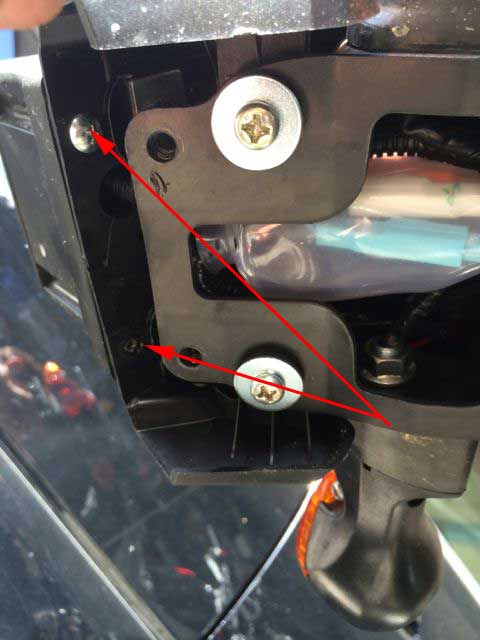
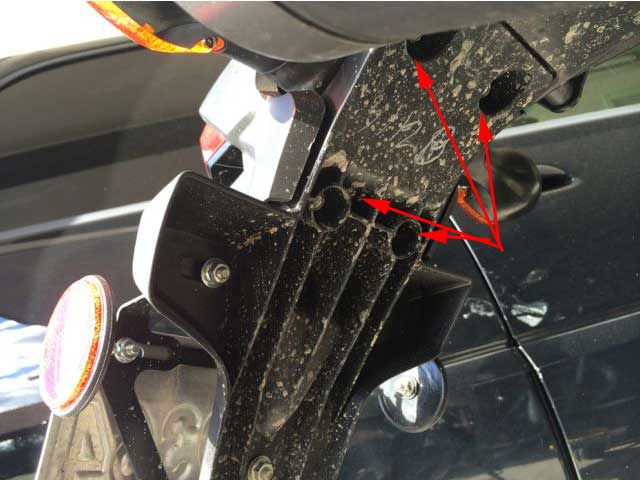
Step 3. Remove these three screws using #3 philips. These 3 bolts attach the light assembly to the bike.

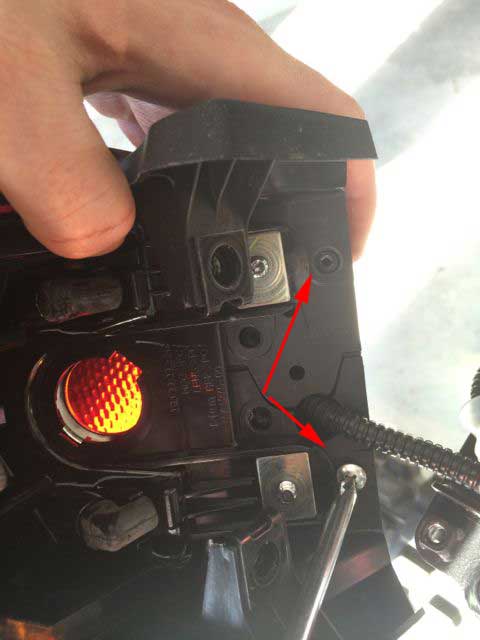
Step 4. Remove the 2 bolts holding in the stock licenses plate light.
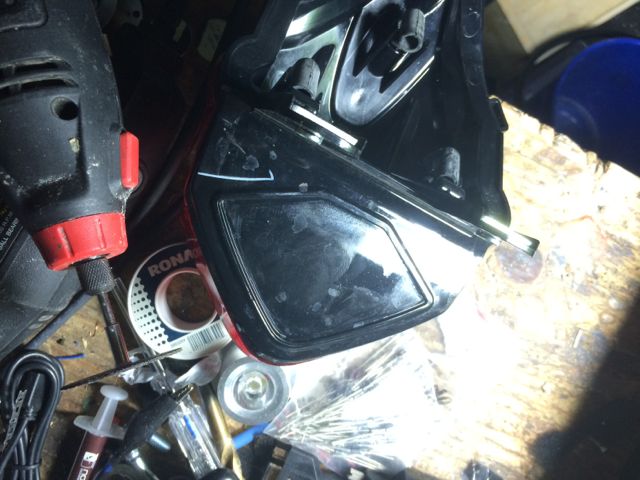
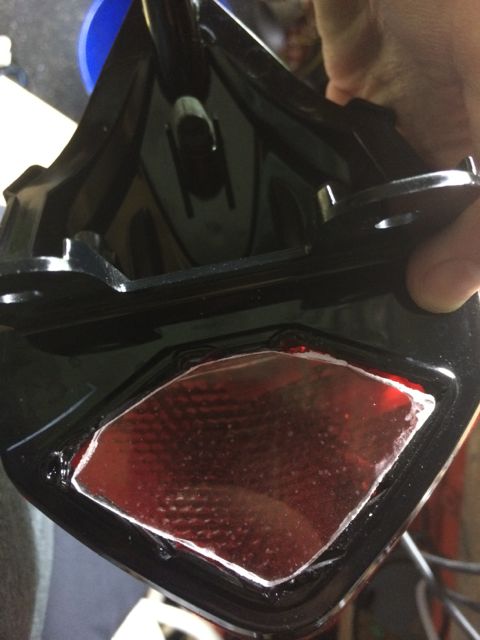
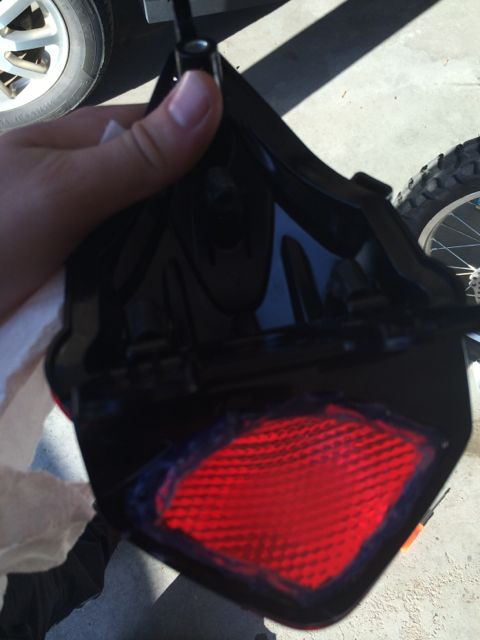
Step 5. Get our your Dremmel and a cutting wheel and cut out this lovely diamond shape template Honda generously added to the bottom of the light (it’s almost like they planned for this mod)
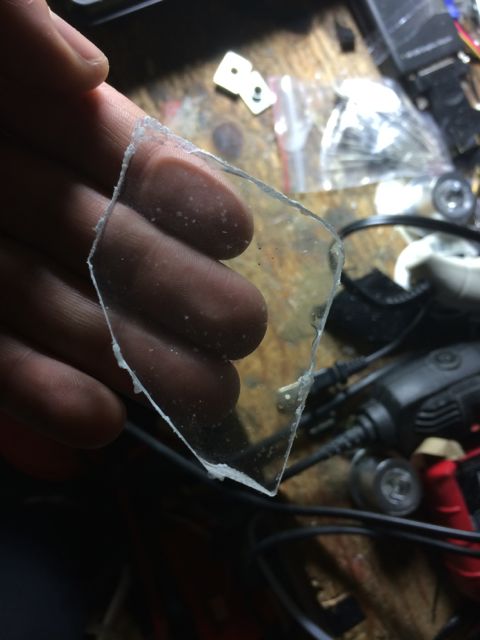
Step 6. Next trace your cut out onto some clear thick plastic to fill your new found hole.
Step 7. Fit your plastic as cloase as you can to the cut out.
Step 8. Silicone or Hot glue your clear ‘diamond’ into the bottom of the CRF250L tail light.
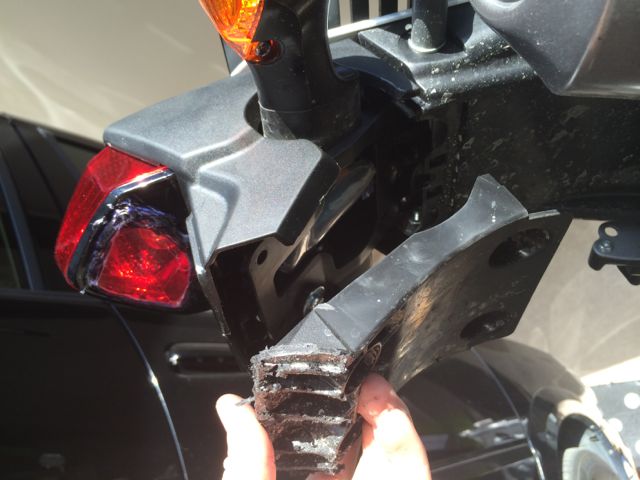
Step 9. Use your cut of wheel to cut along the bottom of the fender. This piece will be used as a cover for the screws and wire connections.
Step 10. Screw in your tail light and bolt up the new cover
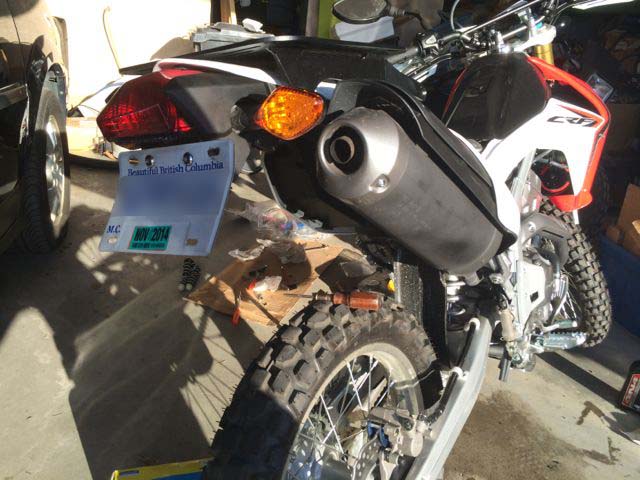
Step 11. Enjoy your sleek new DIY CRF250L fender.



Leave a Reply