CRF250L 13T Sprocket Install
Installing the 13 tooth front sprocket is going to be your biggest bang for buck upgrade. The stock gear on the 2014 CRF250L is 14/40 (14 tooth front and 40 rear) which is very high geared for a dual sport. This was likely done to increase fuel mileage to raise the specs.. how ever 6th gear is very unresponsive with the stock gears. After installing the 13T front sprocket 6th gear was actually useful! I could feel the bike pulling and had pickup in every gear.. no more power gaps! Next I plan on installing the 42T rear sprocket to further gear it down.
How To install a 13T sprocket on the Honda CRF250L
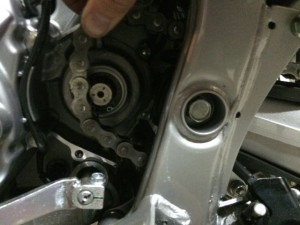
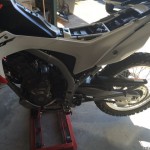
Step 1. Start by removing the sprocket cover. The cover is held in place by 2 (i believe 8mm) bolts.
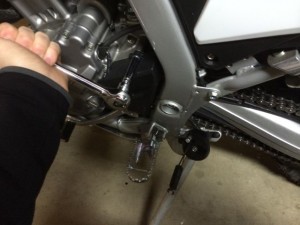
CRF250L sprocket cover removed. You will notice the stock 14T sprocket has a rubber damper.. this is to reduce chain noise.. i however did not notice a difference between the stock and aftermarket 13t sprocket.
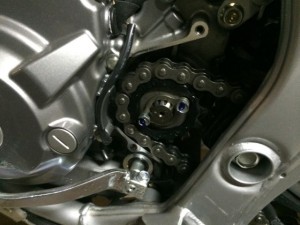
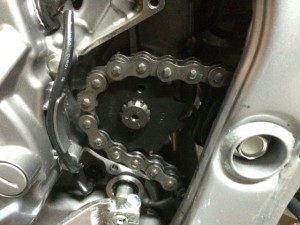
Step 2. Remove the two bolts holding on the retainer bracket (i believe 10mm)
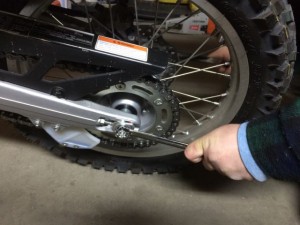
Step 3 Loosen your wheel nut then the two chain tension bolts (in front of the large wheel nut)..
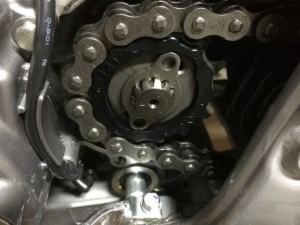
Step 4: Remove the chain from the front sprocket by pulling it forward and towards you.
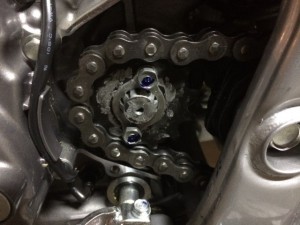
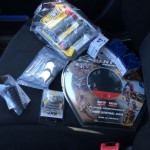
Step 5: Install your new sprocket (i would recommend using anti-sieze on the shaft/sprocket to ease in future replacements)

Step6: Re-insall the retainer pin and sprocket bolts (*be sure to wiggle/push the sprocket all the way back so the retainer pin falls into its grove on the shaft.. this will allow it to spin and line up with the bolt holes)
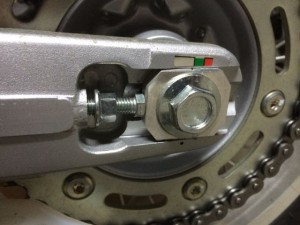
Step 7: Adjust your chain tensioner Tip: I like to check and make sure i can put two fingers under the top of the chain along the chain rail)..
The nut on the tensioner closet to the rear is your adjuster, the one in the front is a locking nut to keep things in place.
Use the dot on the bottom/notches in the wheel plate to ensure both sides are equal.
once lined up tighten your wheel axel nut.
Thats it! 20 minutes later you should be done and be ready to test your your newly unleashed power!


Hey Devon,
Good to run into you today. Looking forward to your “How To” on cleaning up the tail assembly. Shoot me an email so we have one another’s contact info.
John